
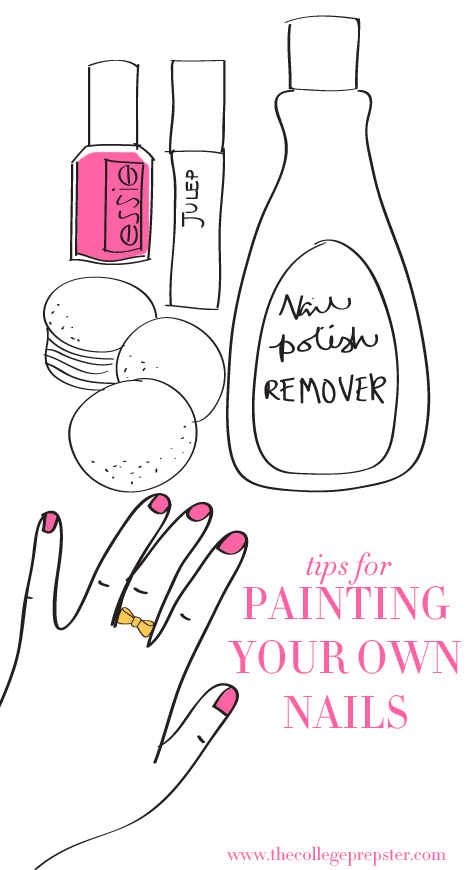
 MOM Tip: If you prefer to paint your own nails ~ read this. The College Prepter is sharing her method for painting your own nails. This is a condensed version. Be sure to go to the link below to read all the details.
ONE | Remove Polish
TWO | I wash my hands.
THREE | I’m right handed… BUT my left hand shakes really badly. Even though I should be better at painting my left hand, my fingers will NOT hold still. I always start with the brush in my right hand my left hand on the table. This is something I do for my shaky hand, but it actually really helps with painting in general: I press my hand firmly onto the table. I paint from my pinky finger to my index finger. Then I turn my hand 90 degrees so that my fingers hang off the table and my thumb is perpendicular to the edge.
FOUR | Then I switch to painting my right hand. Same method, same technique.
FIVE | I go through with the same method to do a second coat. (For some colors, like lighter shades… I paint a third coat!)
SIX | No matter what, I have to sit still for at least ten minutes. Even when they feel sort of dry or look dry, the nails can smudge the minute you tap it. Dents, smudges, smears…. not pretty. One solution I’ve found that works the best, are these quick dry drops.
SEVEN | If I’m going somewhere important and need my nails to really be amazing, I use the Julep Freedom Polymer Top Coat.
Click here to get this tip from The College Prepster.